Punch Needle Instructions for beginners
Preparation & notes:
* How punch needle works:

* Select 'D' gear on the pen to punch
* Punch small area first, follow by larger areas, use hand stitch for lines
* Choose smaller stitch length (3~4mm) for small area, slightly longer stitch length for larger area and background.
* We recommend that you first punch the outlines of the area you want to stitch with this color, and then fill it going spirally towards the middle. To ensure your loops on the backside are nicely full, follow the contour of the previous row. Continue punching until the area is full.
Punchwork:
Step 1
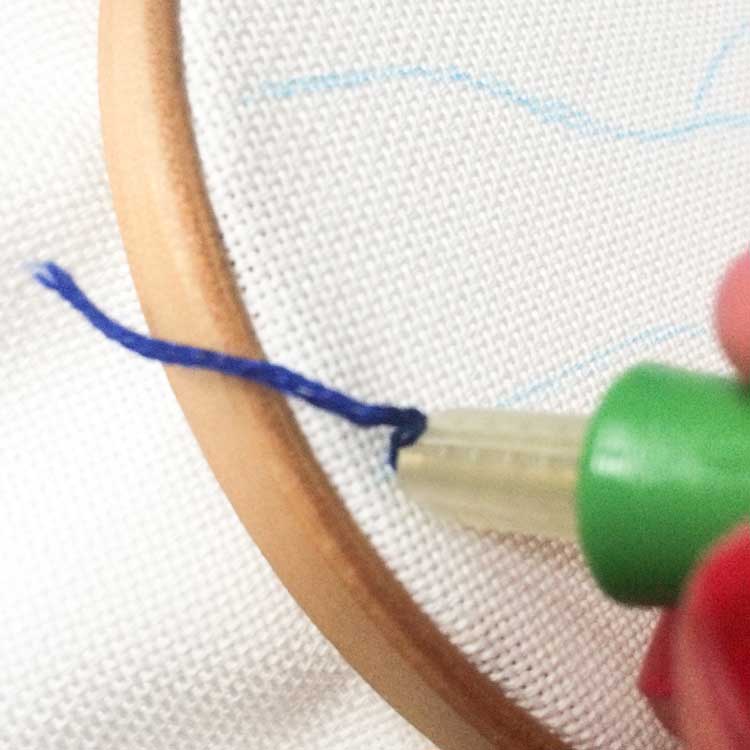
Push the punchneedle straight down into the fabric, until it stops. It is important that the needle hole, the part where your thread comes out, is on the backside of your needle as you move forward.
Step 2
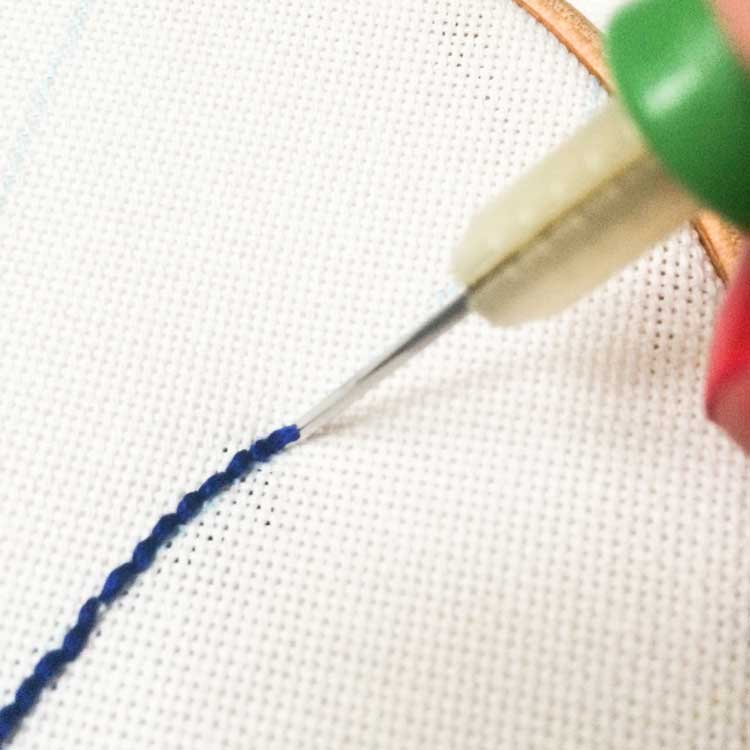
Bring the needle back up slowly, stopping as soon as the tip is clear of the surface of the fabric. You should not lift the needle up too high because this will pull out the loop. Rather, slide the needle tip close to the fabric by approximately the width of the needle.
Step 3
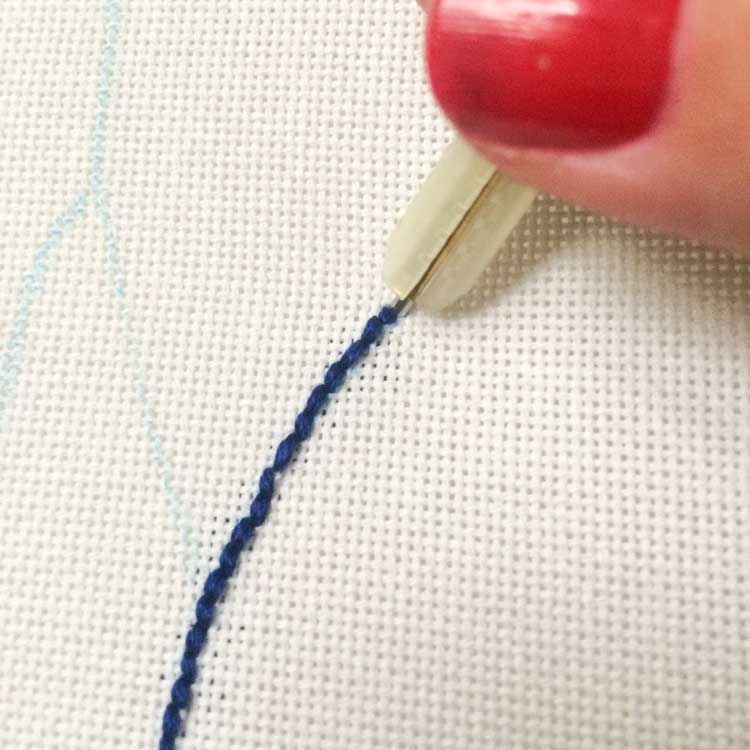
Now repeat – punch the needle into the fabric again, lift it to the surface, slide it across the surface. That’s all there is to the basic punch stitch!
When you reach a corner, stop with the needle in the down position, rotate the hoop, and then continue to punch along the new line. This means you’ll always be punching right to left (left-handers: left to right).
Step 4
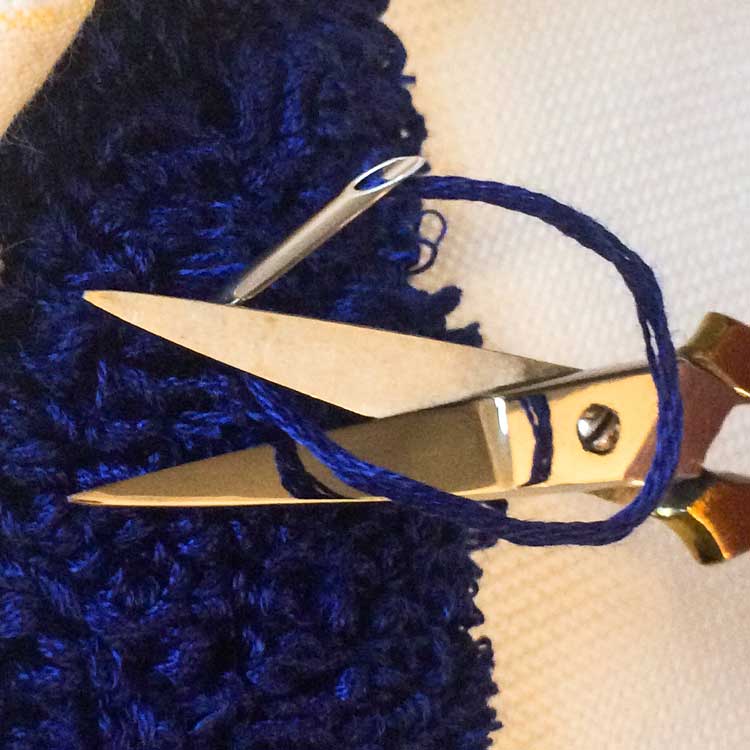
Whenever you finish with a thread, push your needle to the loopy side of your fabric. Cut of your thread at the same height as your loops, and pull out your needle.
Step 5
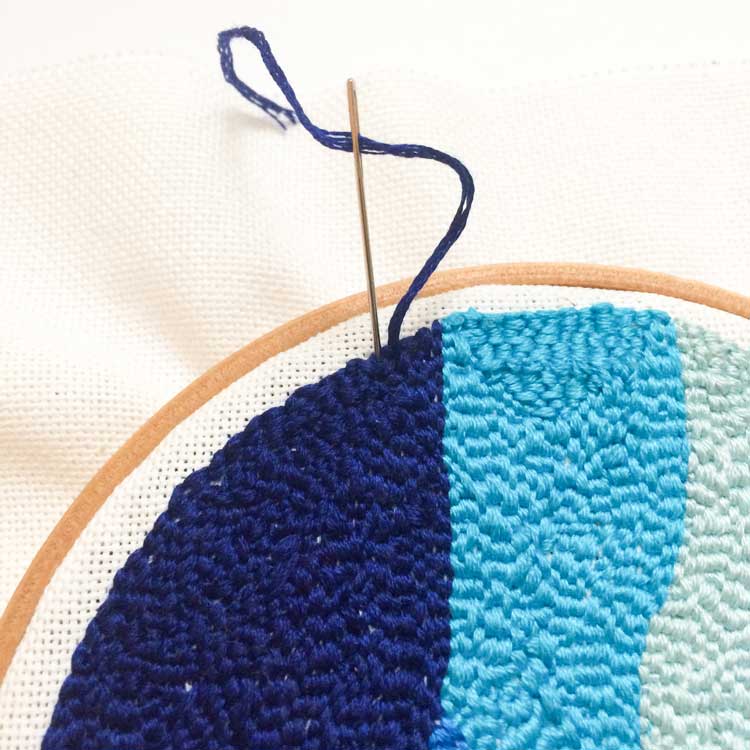
Once you finish with a color, clean up your starting point thread end. You can use a embroidery needle to bring your thread end to the backside.
When your thread end is too short for an embroidery needle, do it manually. Hold the thread end in one hand and gently pull the thread while looking at the loopy side of your fabric to see which loop your thread is connected to. Gently pull the loop to bring the thread end to the backside of your fabric. Now cut of the thread end at the same height as you other loops.
Step 6
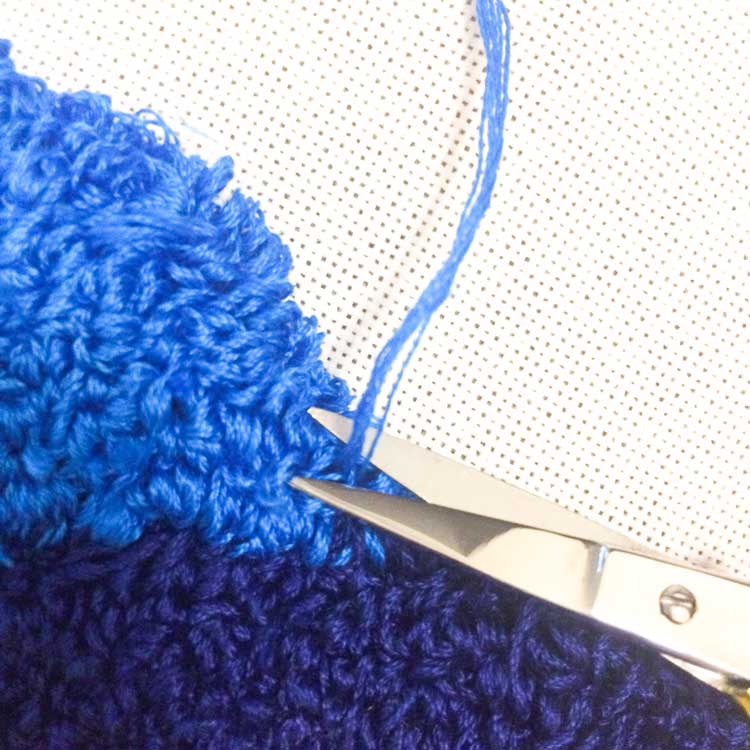
Clean up the loopy side of your punch needle project. Cut of any long threads at the height of your loops.
Lines may not appear to be straight. That is completely normal! Carefully push and pull your loops to where they belong. We find it handy to use a toothstick.


